6.0 KiB
The Basic
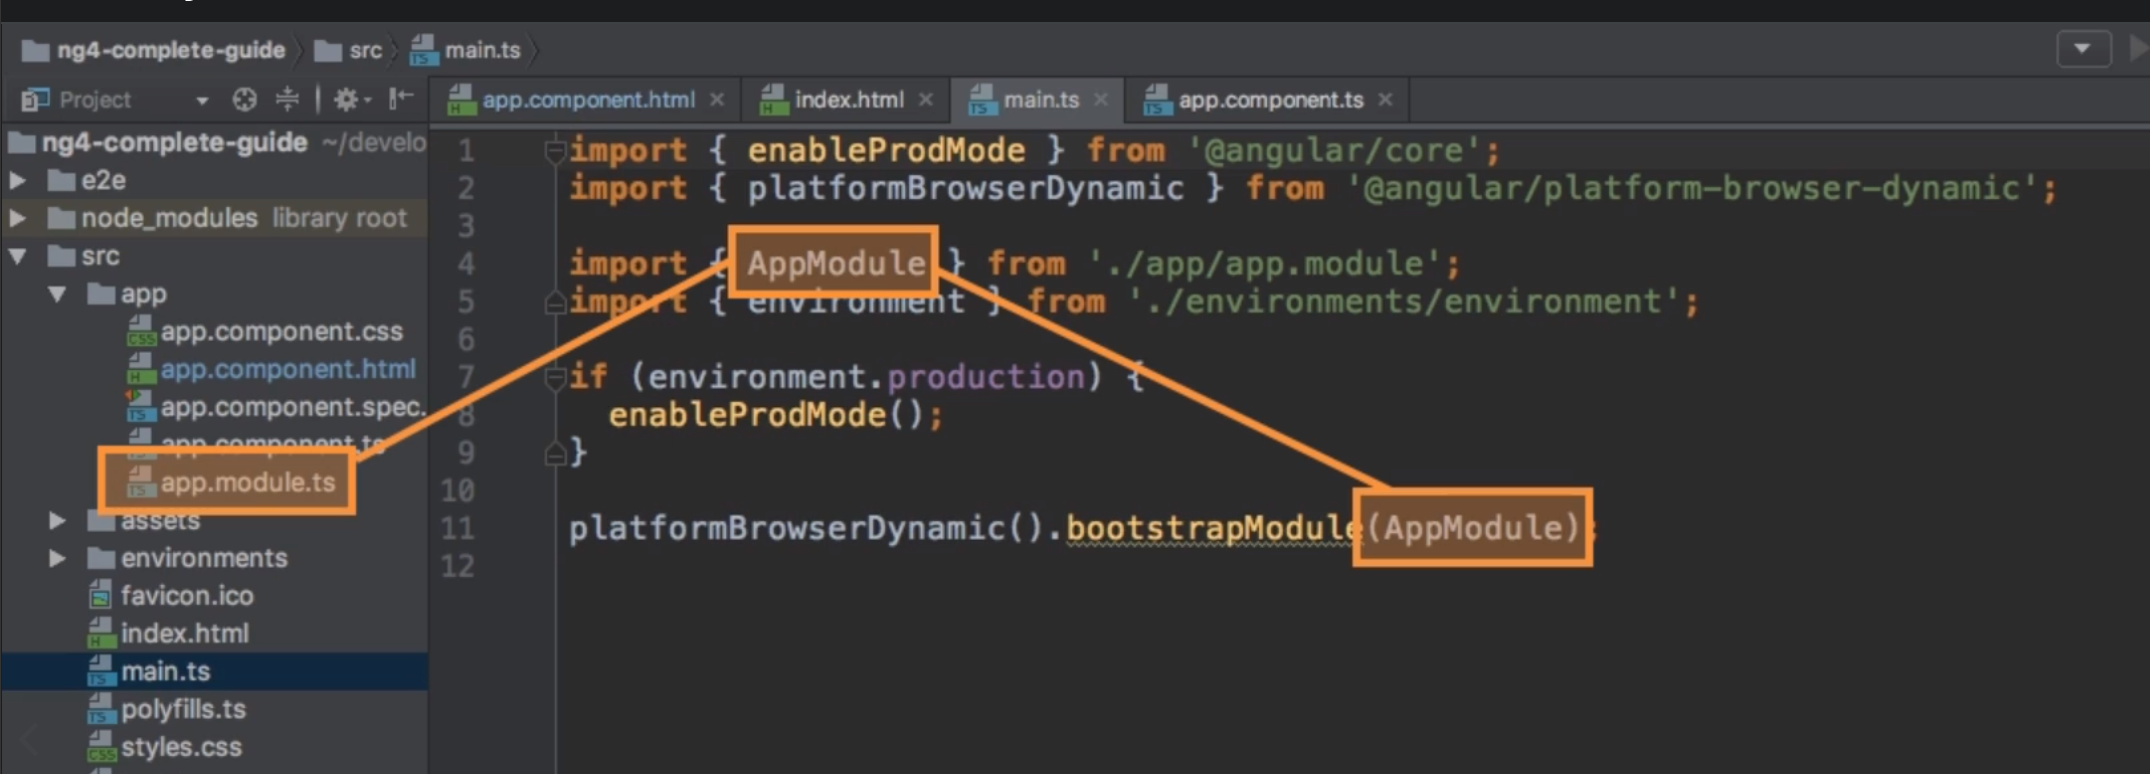
Angular serves the index.html in the src directory and loads the components from the src/app directory.
The scafolding creates a root-component which is loaded into the index.html on the <app-root></app-root>-Tag.
In the @Component we find a selector with the value of <app-root></app-root>. With this selector, Angular is able to replace in the index.thml on the <app-root></app-root>-Tag with the content in the app.component.html.
When the app is builded, the angular cli will inject at the bottom a bundle of *.js files which is needet to run the app.
main.ts is the file which will be executet at the beginning.
Angular's main ideas is to build components to build an app. Each Component has it's own template (html), maybe it's own style (CSS) and more important it's own business logic. Components can be reused in multiple parts or the application.
Component
The app.component is a special component. It serves to bootstrap all the application and is the root of the application. All the selectors for the other components are located now in the app.component.html.
Good practice to create a new component, you should create a directory in the app folder and name it the same as the componentname. The convention of naming the component is like this name.component.ts.
A component is a class which angular is able to instanciate.
Required files for a component are a server.component.ts and a server.component.html.
In the *.ts file goes the logic and in the *.html file is the template of the component.
import { Component } from '@angular/core'; // Import for the Component-Decorator

@Component({ // Decorator
    selector: 'app-server', // Unique selector
    templateUrl: './server.component.html' // template file
})

export class ServerComponent { // Component-Class

}
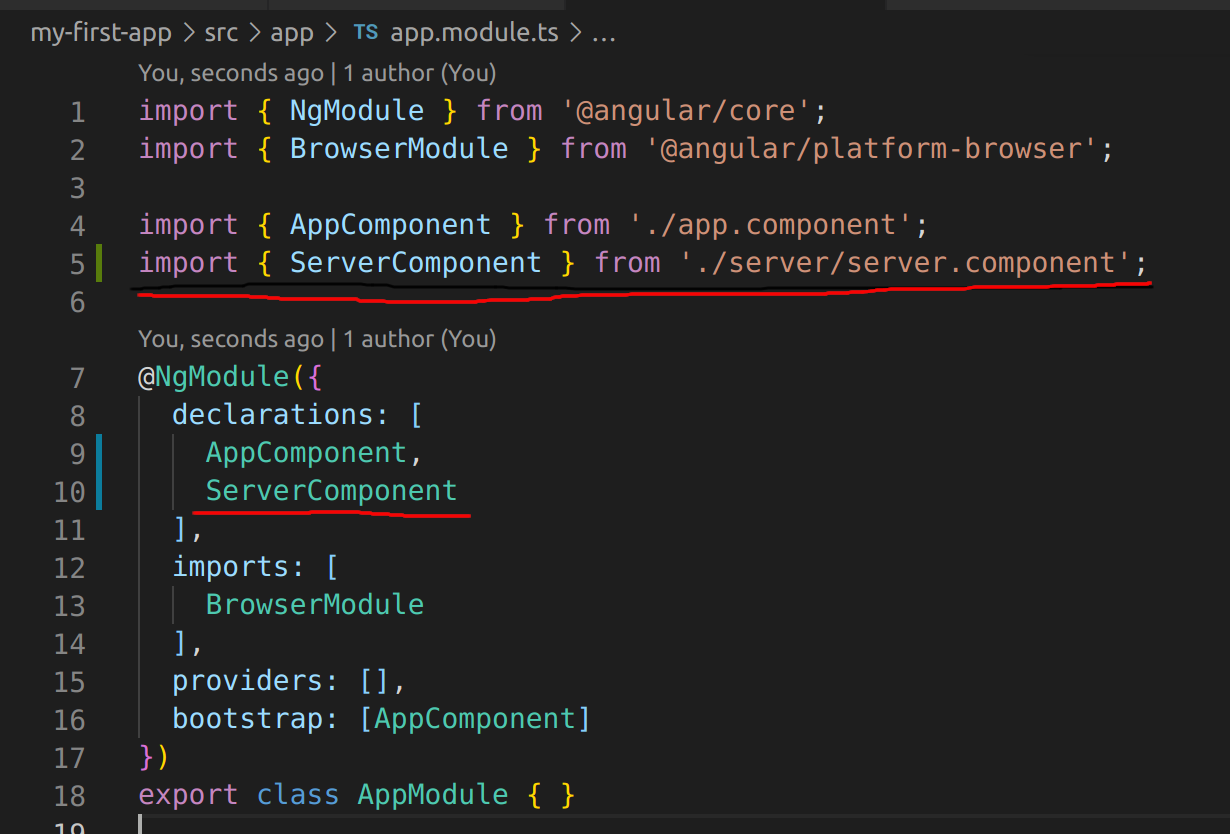
This register the component and let angular know that a new component was created, it needs to be declared in the root app module (app.module.ts). Add it in the declarations-array and for TS to find the file, it needs also an import.
By adding the component-Tag to the app.component.html the component will be inbedded in the app.
<app-server></app-server>
A component can be created with the ancular CLI
# long
ng generate component <name>

# short
ng g c <name>
This command will create a new folder and automatically update the app.module.
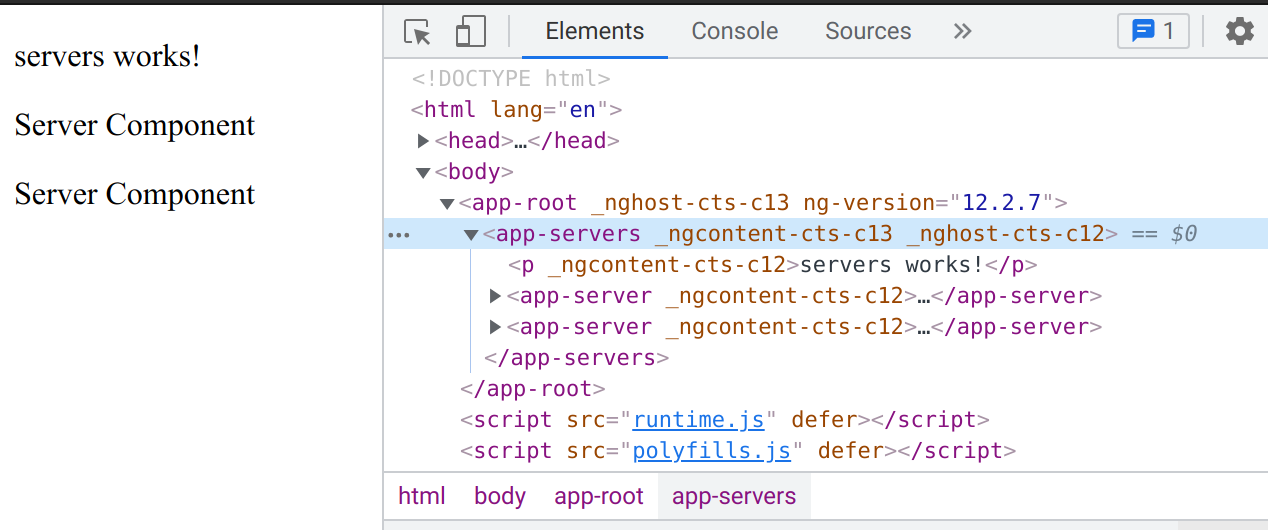
A component can be Nested. Server will be moved to the Servers. So that in the Dom we finde a wrapper arround the Server-Component:
Selector
Angular have multiple ways to select the component (CSS-Selectors):
- by element
<app-server></app-server> - by attribute
[app-server] - by class
.app-server
Databinding
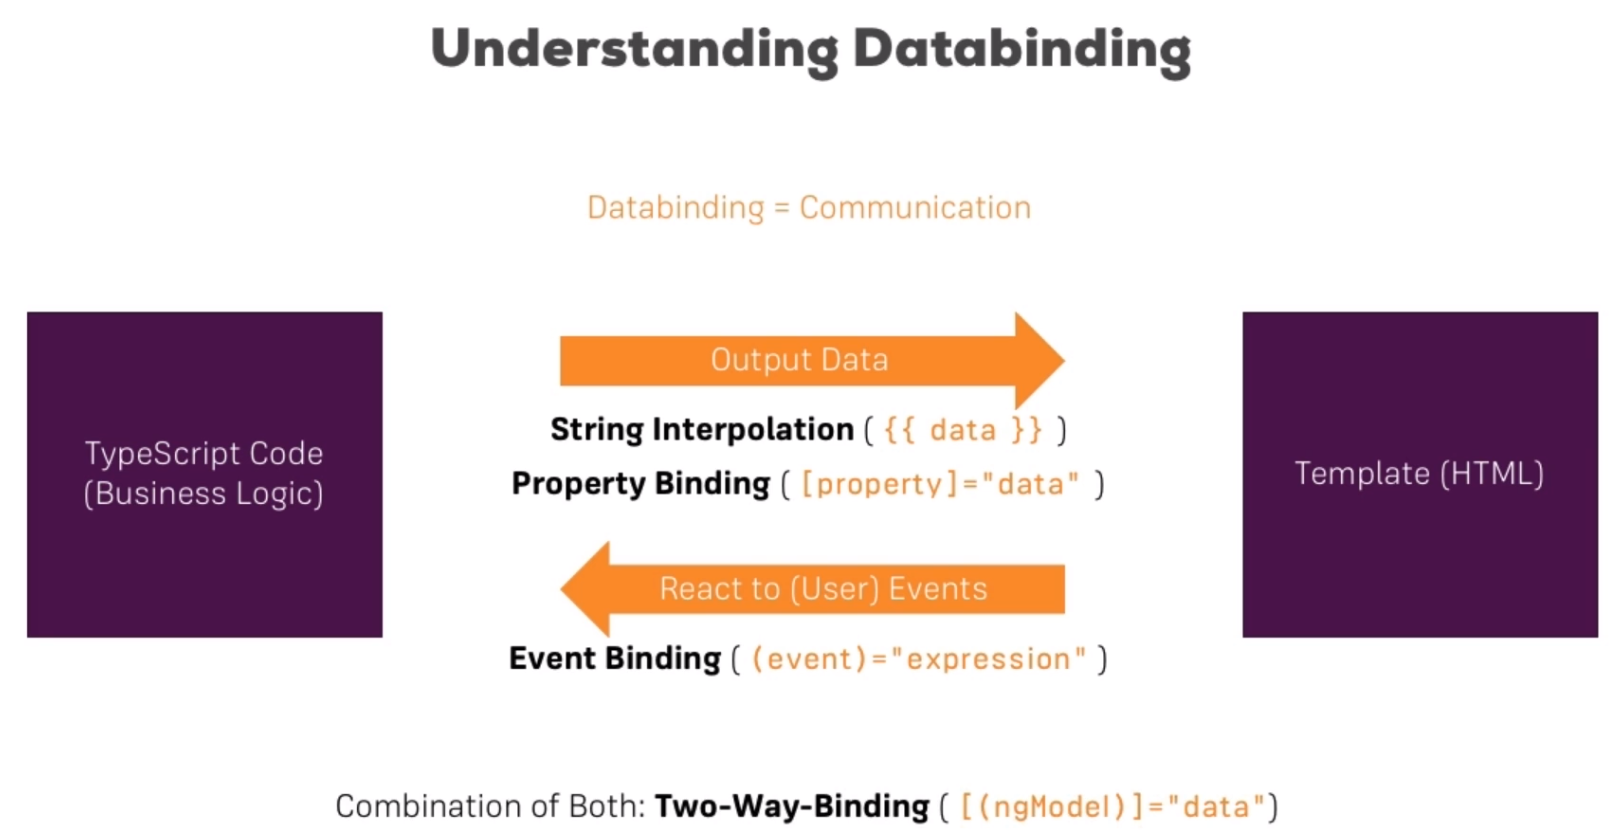
What is Databinding? Communication between TS-Code (Businessloginc) and the Template (HTML).
String Interpolation
With Databinding can be used to dynamically load data into the HTML-template. For example like this:
<p>{{ 'server' }} with ID {{ serverID }} is {{ serverStatus }}</p>
In the {{ }} can be executed an TS Expression wich can be a simple property like serverID, serverStatus or any Method which returns a string.
Note that a number can easily be converted into a string, so there is no need to explicitly convert it.
The {{ 'server' }} is just a string output.
Useage:
To pront some text in the template use String interpolation.
Property Binding
[ ] indicates that we want to use a property binding.
Exsample to activate a Button after 2seconds:
servers.component.html
<button
    [disabled="!allowNewServer"]>Add Server</button>
servers.component.ts
export class ServerComponent implements OnInit {
    allowNewServer = false;

    constructor(){
        setTimeout(() => {
            this.allowNewServer = true;
        }, 2000);
    }
}
Usage:
Change something dynamically upon an element use Property Binding.
<p [innerText]="!allowNewServer"></p>
This syntax is recognized by angular. You cant mix with the curlybraces from the string interpolation. String interpolation is a TS feature.
Event binding
Syntax:
(event)="methodeToCall()"
Example:
<button
    [disabled="!allowNewServer"]
    (click)="onCreateServer()">Add Server</button>

<p>{{ serverCreationStatus }}</p>
Passing and Using Data with Event binding
With the keyword $event we can extract lots of data from this object of type Event.
server.component.ts
...
    onUpdateServerName(event: Event) {
        this.serverName = (<HTMLImputElement>event.target).value;
    }
...
server.component.html
...
<input
    type="text"
    (input)="onUpdateServerName($event)">
<p>{{ serverName }}</p>
...
Two-Way-Databinding
Important: For Two-Way-Binding to work, you need to enable the ngModel directive. This is done by adding the FormsModule to the imports[] array in the AppModule.
You then also need to add the import from @angular/forms in the app.module.ts file:
import { FormsModule } from '@angular/forms';
Syntax:
[(ngModel)]=""
Updates the Input or Target based on eather one is changed.
Directives
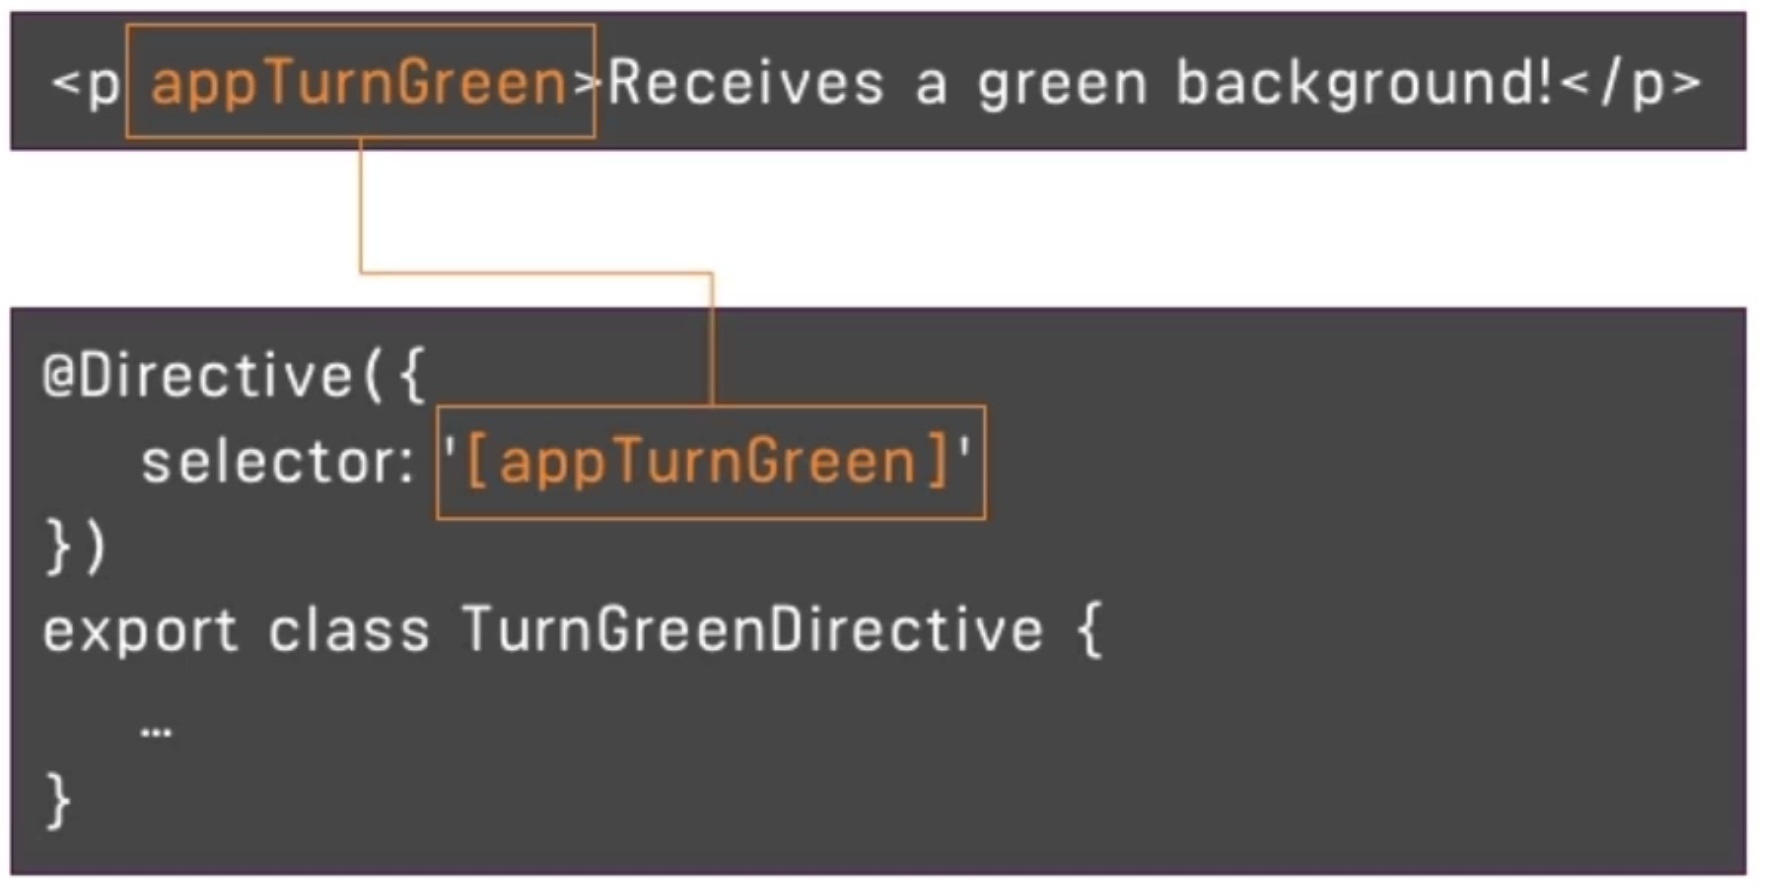
Directives are Instructions in the DOM.
Angular Documentation of Built-in directives
ngIf
Built-In directive which binds the data based on a condition. This
ngStyle
Changes a CSS style attribute
ngClass
Adds or removes a CSS-Class from the element.
ngFor
Adds an ammount of elements to the DOM.
<app-server *ngFor="let server of servers"><(app-server)>
